

How To Make A Cash Register Without A Glue Gun
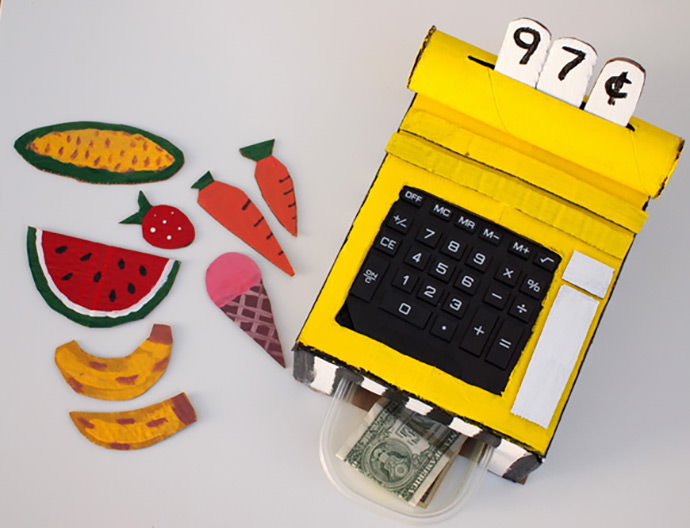
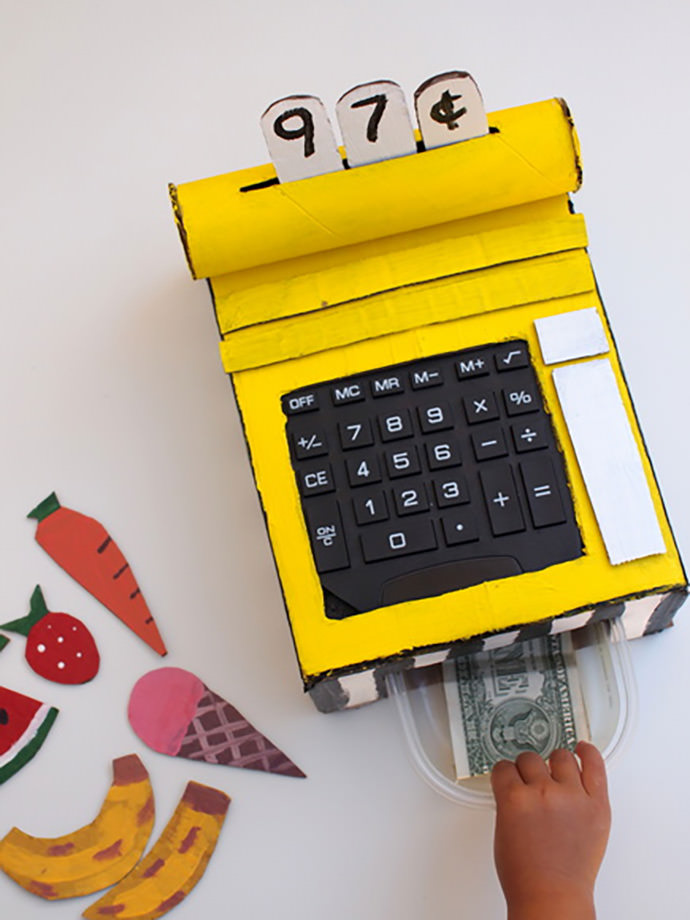
Does your child enjoy going to the grocery store and watching the cashier scan items? Then this cardboard cash register craft is right up your aisle! I recently made this toy for my son and we both beloved how it turned out. Being an active 3-year-old, he enjoys pushing the pressable buttons, sliding the cash drawer in and out, and irresolute the display. As a mom, I dearest seeing him become involved in imaginary play and excitedly practicing his numbers.
Set up to make a cash register toy of your own? Permit's become making!
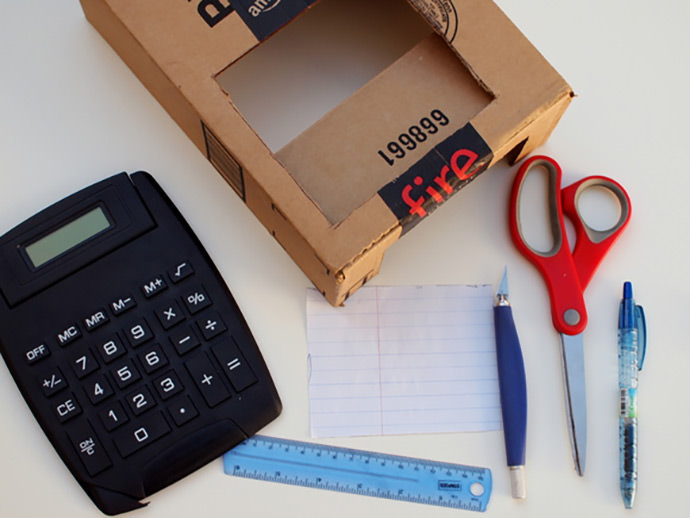
What Y'all Need
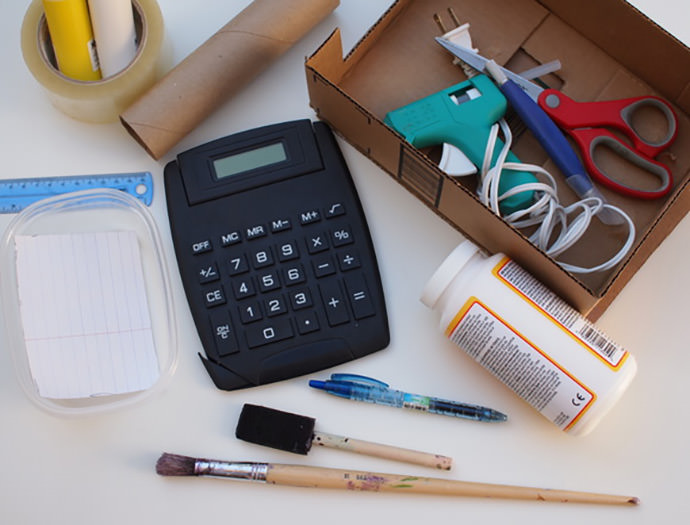
- Computer with large buttons (Does not have to function)
- Paper-thin box (Larger than calculator)
- Plastic Container (Smaller than cardboard box)
- Extra Corrugated Cardboard
- Newspaper Towel Roll
- Scissors
- Craft Pocketknife
- Newspaper
- Pen
- Paint
- Paint Brushes
- Hot Glue Gun
- Packing Tape
- Ruler
- Mod Podge and sponge brush (optional)
Instructions
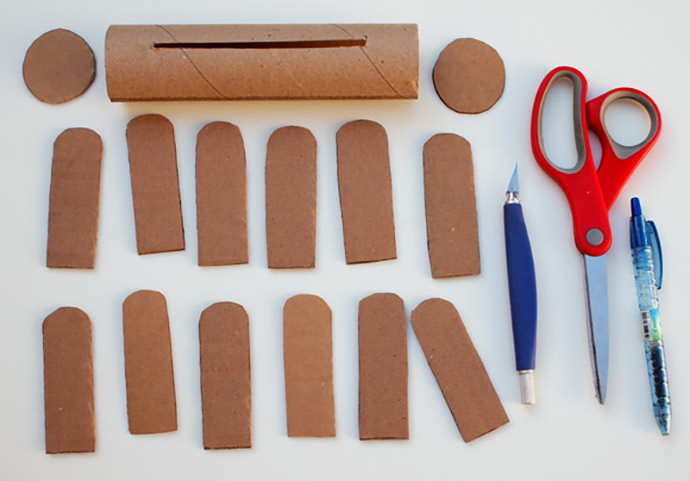
Step i
Get-go y'all're going to make the cash annals'southward display.
- Trim your paper towel roll to fit your cardboard box.
- Trace both ends of the tube onto your corrugated cardboard to create ii circles. Cutting those out.
- Cut out 12 cardboard pieces (approx. 3 1/two″ 10 1″) to display your digits (0-9), dollar sign, and cents sign.
- Cut a slit in your paper towel roll to fit your cardboard pieces.
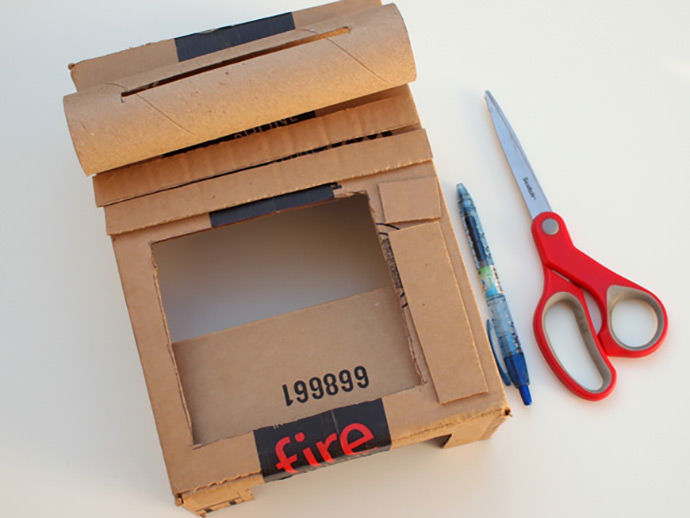
Step 2
Now you'll make the greenbacks register'southward pressable buttons.
- Measure the size of your calculator's keypad.
- Draw a corresponding sized rectangle onto a piece of newspaper.
- Move that rectangle around on the pinnacle of your box until you've institute the right spot to cut your hole out.
- Once you're satisfied, trace the rectangle and cut it out from your cardboard box.
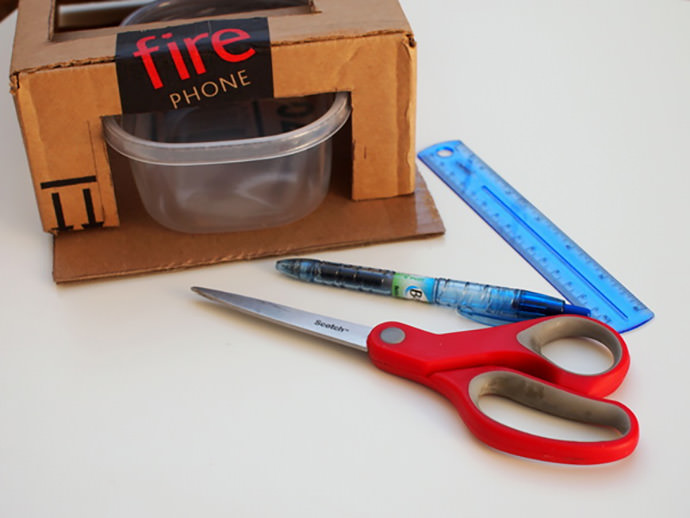
Step 3
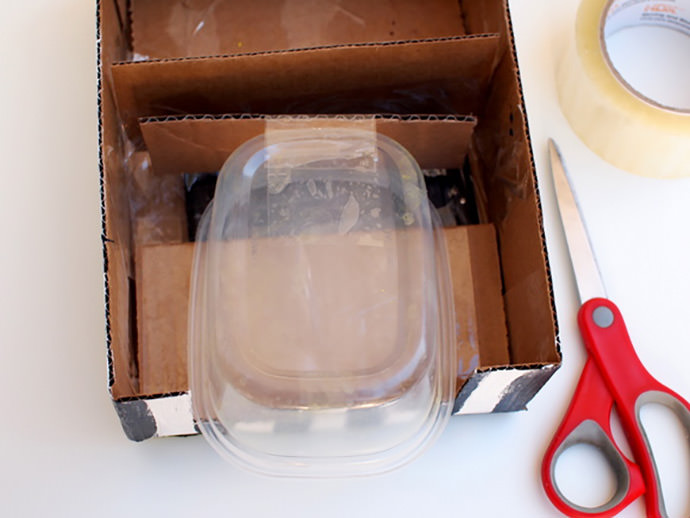
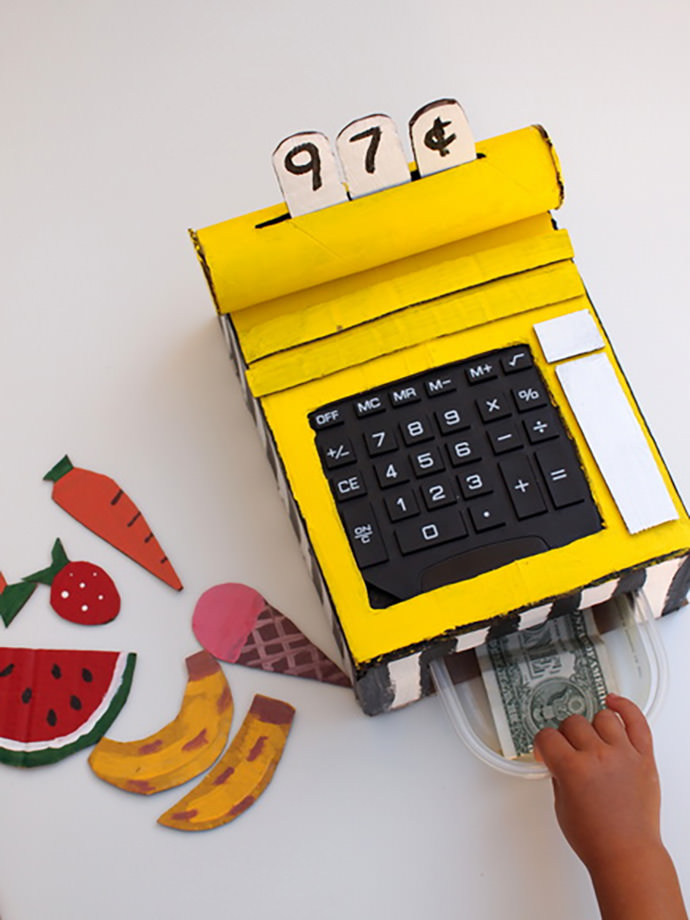
Now you'll make the sliding cash drawer.
- Cutting off the lesser of your box.
- If your box is besides tall, trim it'south pinnacle so that it fits the calculator and your plastic bin cash drawer inside.
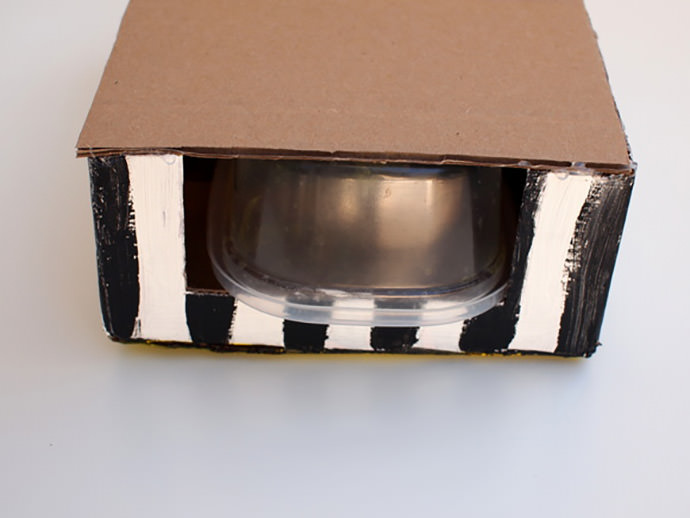
- Measure your plastic bin and cut out a corresponding hole in the lesser side of cardboard box.
- Trace your cardboard box onto a slice of corrugated cardboard. Cut that rectangle out to create a new bottom for your cash register.
Step four
Cut out extra cardboard bits to act as the credit carte slider (2 long rectangles) and actress buttons.
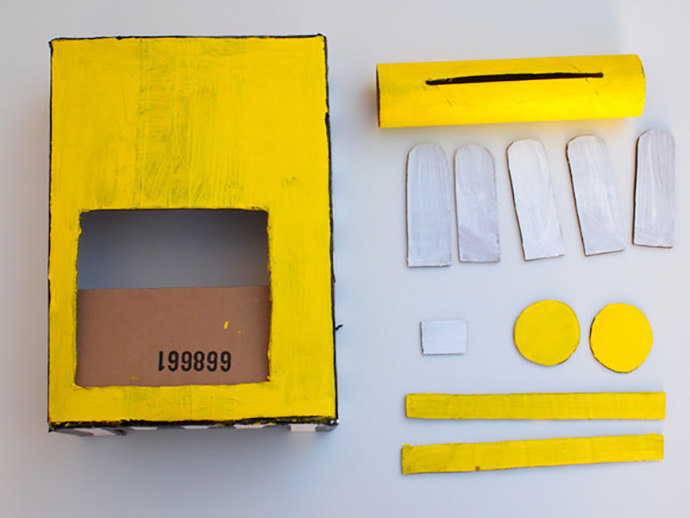
Step v
Paint your cardboard box, credit card slider, cardboard buttons, and cash annals brandish pieces. (Optional: One time your paint dries, apply Mod Podge to protect your paint job.)
Footstep 6
Now you'll put the inside of the cash annals together.
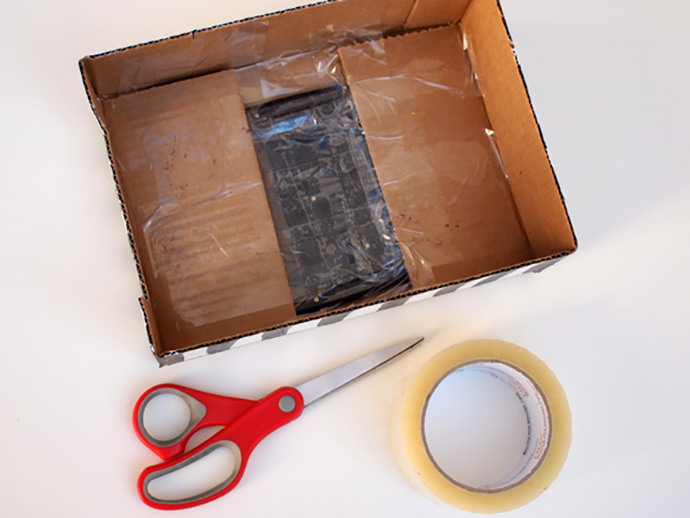
- Tape your estimator to the lesser of your cash register and then that its buttons poke through the rectangle opening on top.
- Cut out two rectangles from your corrugated paper-thin. 1 will act as a wall, preventing your greenbacks bin from sliding besides far into your cash register. Record this one inside the box. The other rectangle will act as a bulwark preventing your cash bin from sliding all the style out. Tape this rectangle to your plastic bin.
Step 7
At present yous'll put the outside of the cash register together.
- Hot glue the bottom of the cash register on.
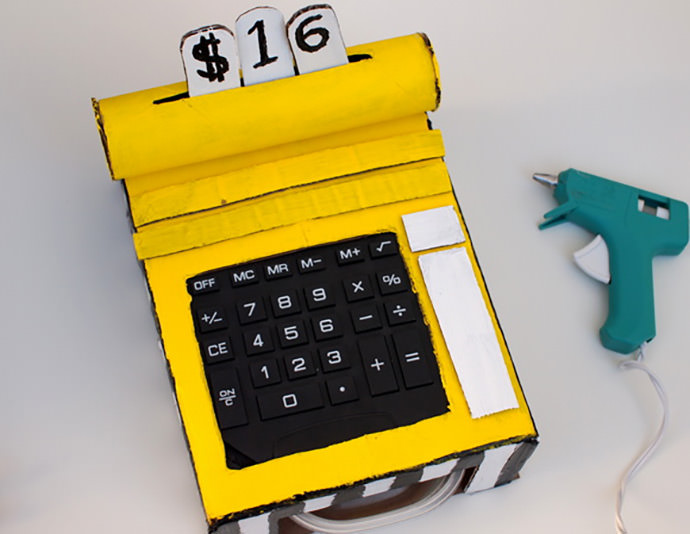
- Hot glue your cash register's brandish, credit carte slide, and buttons to the acme of your cash register. Now you're washed and the kids are ready to play. Ka-ching! Ka-ching!
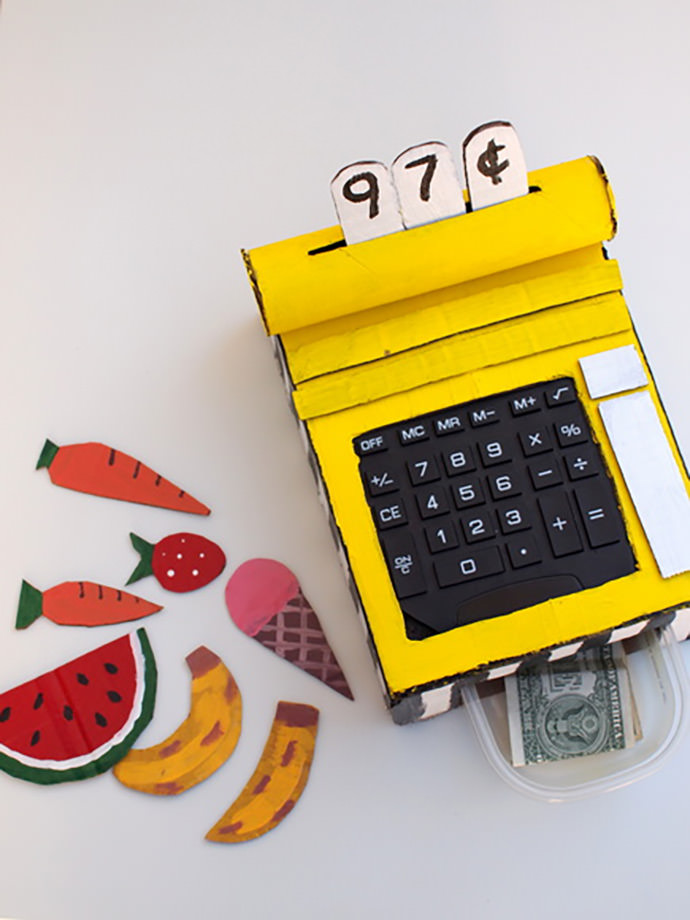
Isn't this neat? I love how we turned a bunch of everyday items into a personalized and fully functional handmade greenbacks register toy! You can make this toy by yourself like I did, or encourage the little ones to bring together in. This is a great project for kids because it involves painting and building movable, interactive components.
Happy crafting!

Source: https://www.handmadecharlotte.com/diy-cardboard-cash-register/
Posted by: smithbrose1970.blogspot.com
0 Response to "How To Make A Cash Register Without A Glue Gun"
Post a Comment